

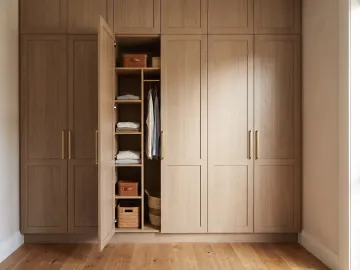
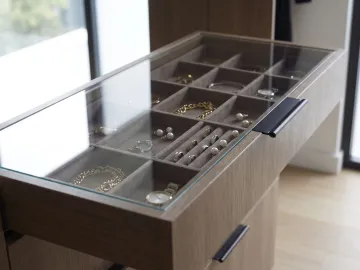
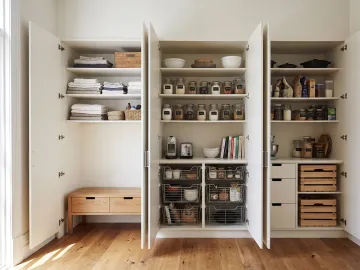

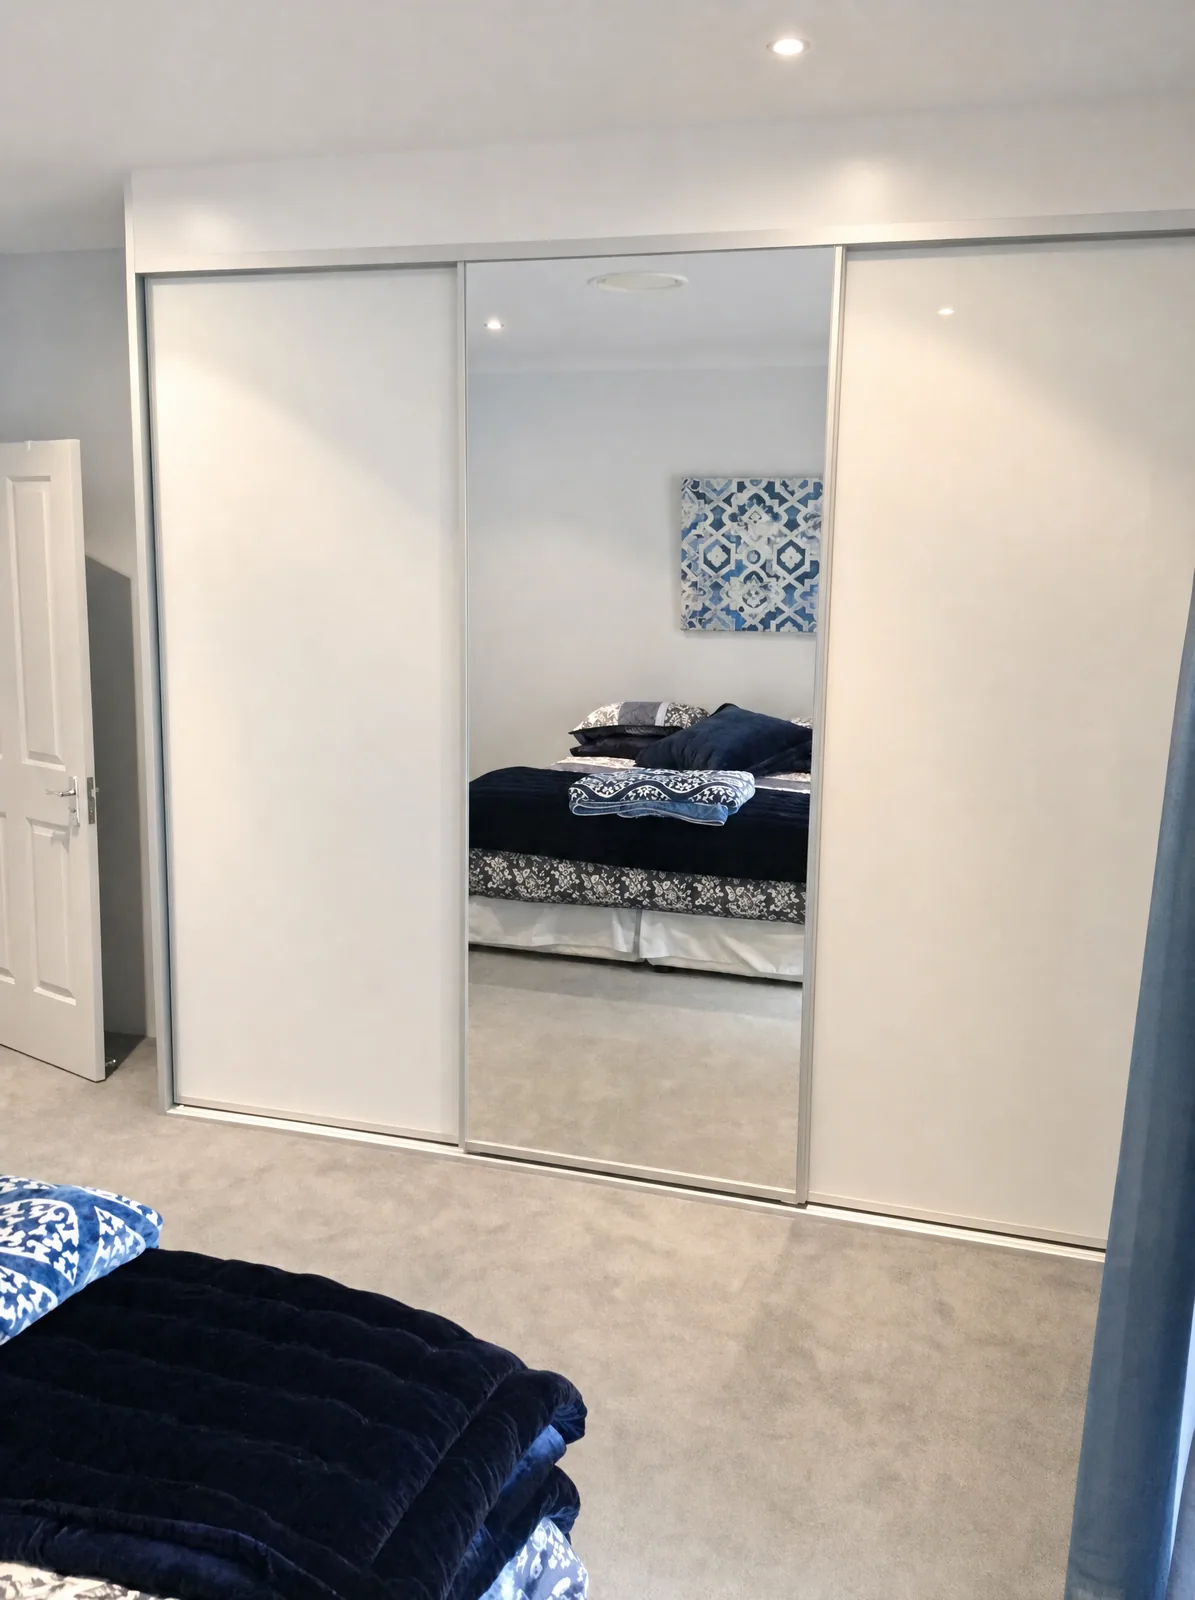
Short answer: replacing an old built-in wardrobe is a two-visit job. The first visit is the onsite consult and measure. The second is the rip-out, disposal and installation, which for a standard bedroom robe is usually done in a day. Between the two, the new wardrobe is made in the factory. You empty the old robe before the second visit, and the old one goes away on the same truck that brought the new one.
Here is what actually happens, step by step.
Signs it is time
- Doors that jump the track, drag or will not close.
- A single rail and a dusty shelf, with everything else on the floor.
- Melamine that is chipped, swollen or peeling at the edges.
- A wardrobe that stops well short of the ceiling, with a dead zone above.
- A layout built for someone else’s clothes.
Sometimes only one of these is true, and the right answer is a re-fit of the internals behind doors that are fine. Sometimes all of them are true, and the whole thing goes.
Step 1: Onsite consult and measure
The designer visits, looks at the existing wardrobe, measures the opening (floor to ceiling, wall to wall, and the depth), checks the skirting, cornice and any bulkheads, and talks through what you own and how you dress. You get a layout and a quote for that wardrobe, including removal and disposal of the old one if you want it.
This is also when to decide re-fit or replace. If the doors are good, re-fitting the internals is cheaper and quicker. If the doors are the problem, it is a full replacement.
Step 2: Factory time
The new wardrobe is cut and built in our Blacktown factory to the measurements taken onsite. Nothing is ordered from a chart. This is the gap between the two visits, and the designer gives you the expected timeframe at the consult.
Step 3: Empty the old wardrobe
Before the installation day, empty the wardrobe completely. Clothes on the bed, shoes in boxes. This is the moment most people discover how much they were storing that they do not wear.
Step 4: Rip-out
On the day, the installer removes the old doors, tracks, shelving and carcass. Old wardrobes are usually screwed to the walls and sometimes glued; removing them leaves screw holes and occasionally torn paint, all of which the new wardrobe covers. The old wardrobe goes on the truck.
Step 5: Make good
If the new wardrobe covers the same footprint, there is little to do. If the new one is a different size, or the old one had a bulkhead that is coming out, there may be patching and painting, which we flag at the consult so it is not a surprise.
Step 6: Install
The new carcass goes in, is levelled and fixed, the internals are fitted, the doors are hung and adjusted. For a standard bedroom robe this is usually a single day. The installer is the person who measured and designed it, so there is nobody to call about a measurement that did not translate.
Step 7: Fill it properly
A new wardrobe is a chance to put things where they belong. Our internals planning guide is worth a read before the clothes go back in.
Re-fit or replace: a quick test
| If | Then |
|---|---|
| Doors are sound, you like them, inside is the problem | Re-fit the internals only |
| Doors drag, jump or are damaged | Replace doors and internals |
| Wardrobe stops short of the ceiling | Replace, go floor to ceiling |
| Board is swollen or peeling | Replace |
| Layout is wrong but everything else is fine | Re-fit the internals |
What it costs
A re-fit of internals costs less than a full replacement, because the doors and track are the largest single line on a wardrobe quote. Our cost guide explains what drives the price. Either way, the quote you receive after the consult includes removal and disposal of the old wardrobe if you want it, and the new one carries a 10-year workmanship guarantee.