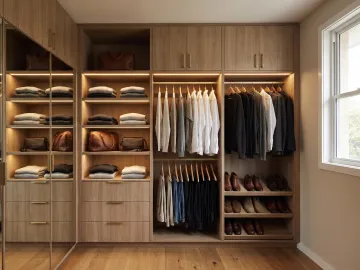
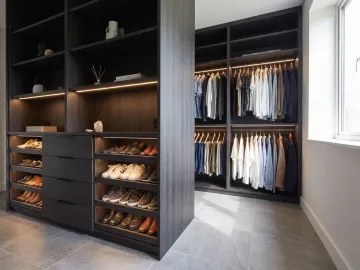
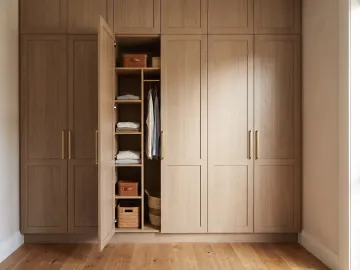
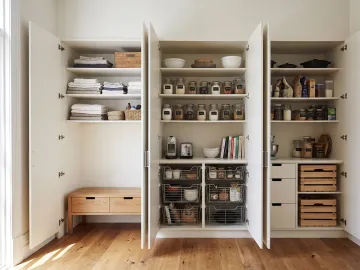
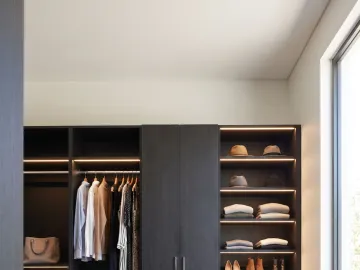
Short answer: plan internals from what you own, not from a standard module. Count your hanging, sort your folded clothes into drawers and shelves, give shoes their own shelving, and leave a third of the space free. A single rail and a top shelf wastes most of a wardrobe. Double hanging, adjustable shelving and a drawer bank use all of it.
Here is how to work it out before a designer visits, so the consult starts from your wardrobe rather than a blank sheet.
Step 1: Sort what you own into four groups
Empty the current wardrobe onto the bed and sort into:
- Long hanging: dresses, coats, long jackets, anything over about 900mm on a hanger.
- Short hanging: shirts, blouses, jackets, folded-over trousers.
- Folded: jumpers, jeans, t-shirts, underwear, activewear.
- Shoes, bags and odd items: shoes, handbags, belts, ties, scarves, hats, luggage.
Be honest about what is going back in. The pile that goes to the op shop is the easiest storage gain you will make today.
Step 2: Measure the hanging
Push the hangers together and measure the length of rail each group takes. As a guide:
- Shirts and blouses: about 25 to 30mm per hanger.
- Jackets and coats: about 40 to 50mm per hanger.
- A 1,000mm rail: roughly 35 to 40 shirts, or about 20 to 25 jackets.
Add about a third to each number. A full rail is hard to use, and your wardrobe will grow.
Step 3: Decide long hang versus double hang
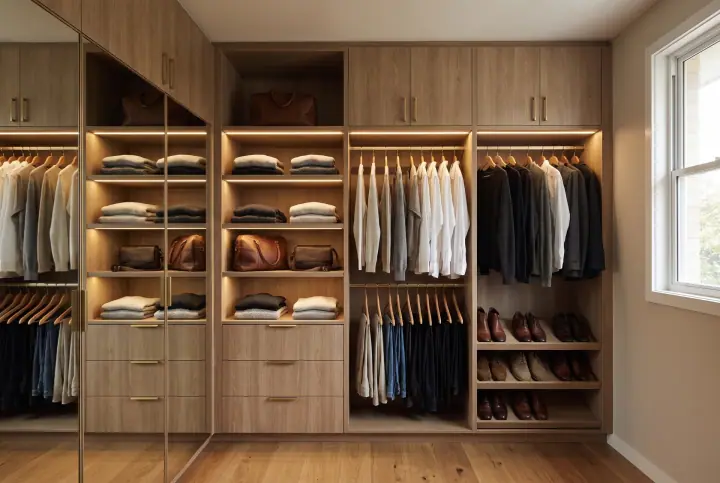
Long hanging needs a rail at about 1,700 to 1,800mm with clear space below. Double hanging puts two rails, at about 1,000mm and 2,000mm, in the same height, which doubles the capacity for short items.
Most people have far more short hanging than long. A typical result is:
- One bay of long hanging (about 600 to 900mm of rail) for dresses and coats.
- One or two bays of double hanging for everything else.
If you own very few long items, a single short bay of long hanging is plenty, and sometimes a pull-out rail in an awkward corner does the job.
Step 4: Split folded clothes between drawers and shelves
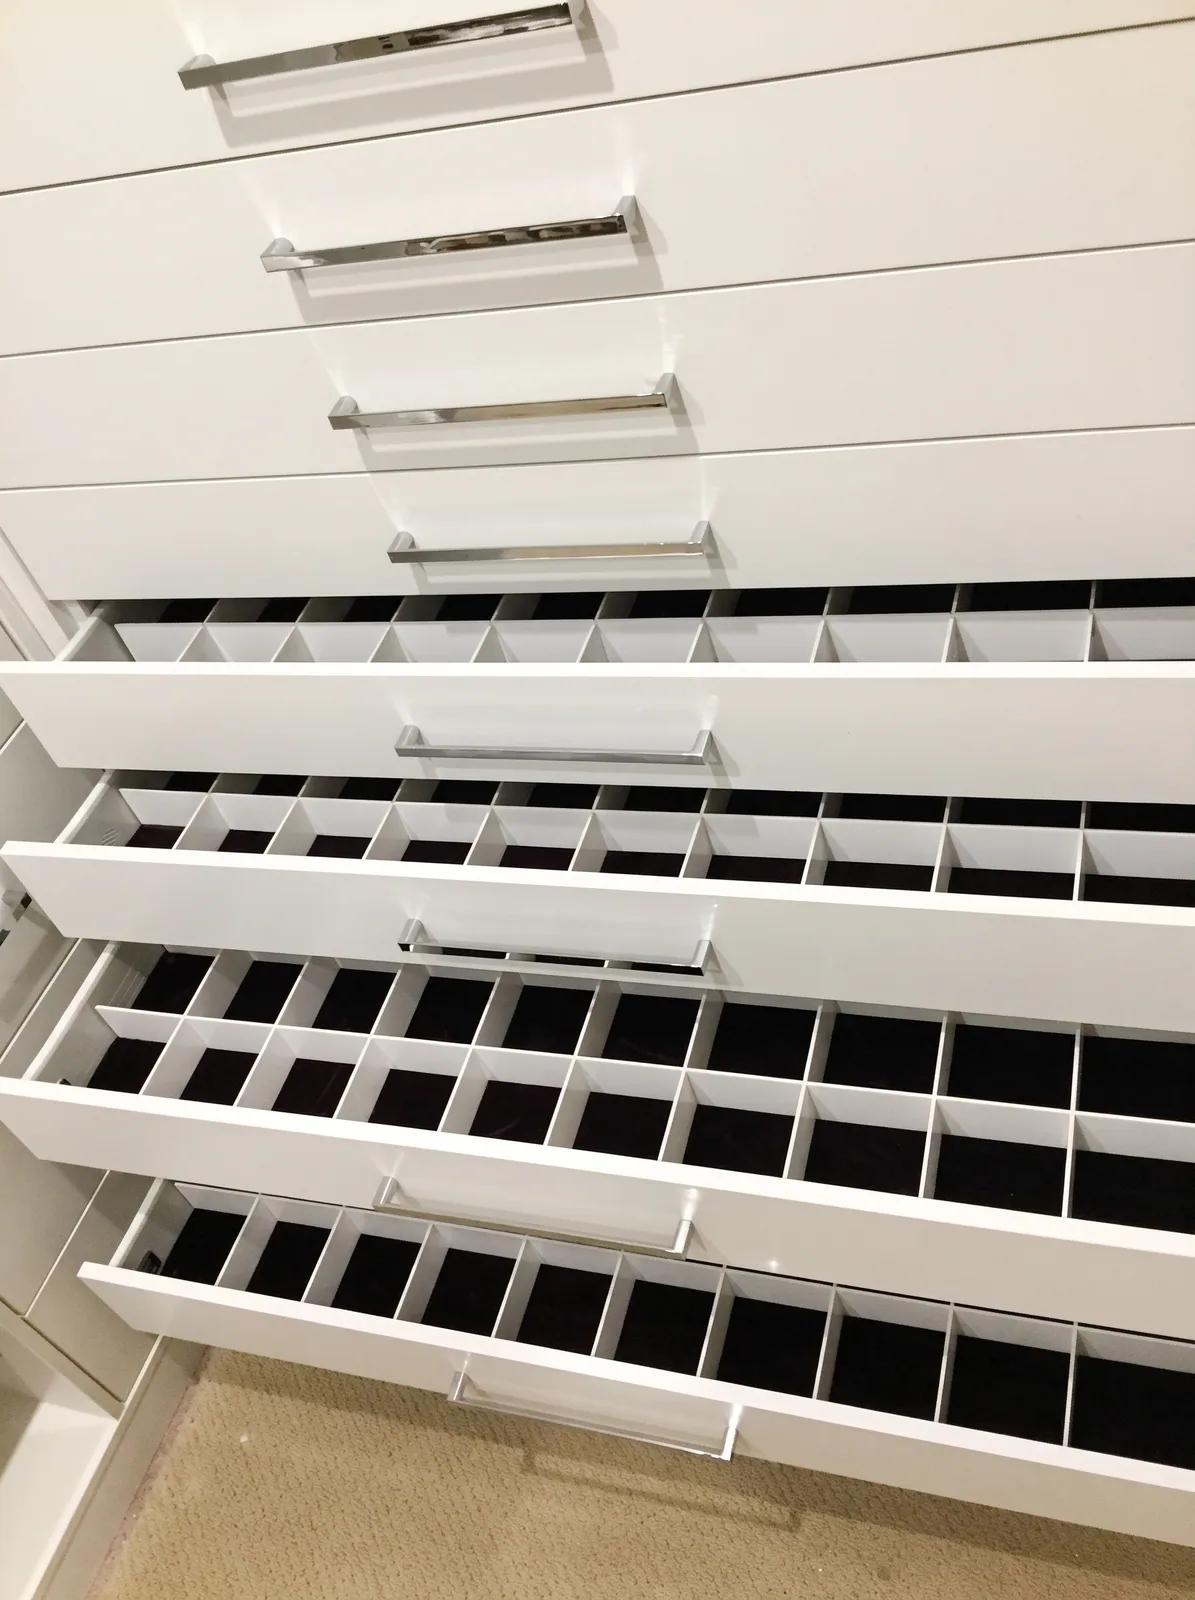
Drawers for small things and anything you want hidden: underwear, socks, t-shirts, activewear, pyjamas. Shallow drawers (150 to 200mm) for small items; deeper ones (250 to 300mm) for jumpers.
Shelves for things that stack neatly and look fine on show: jumpers, jeans, bags. Shelves at 300 to 400mm spacing, adjustable so you can change them.
A drawer bank inside the wardrobe usually means one fewer chest of drawers in the bedroom, which is a lot of floor space back.
Step 5: Give shoes their own place
Shoes on the wardrobe floor are the most common sign of a wardrobe that was never planned. Options:
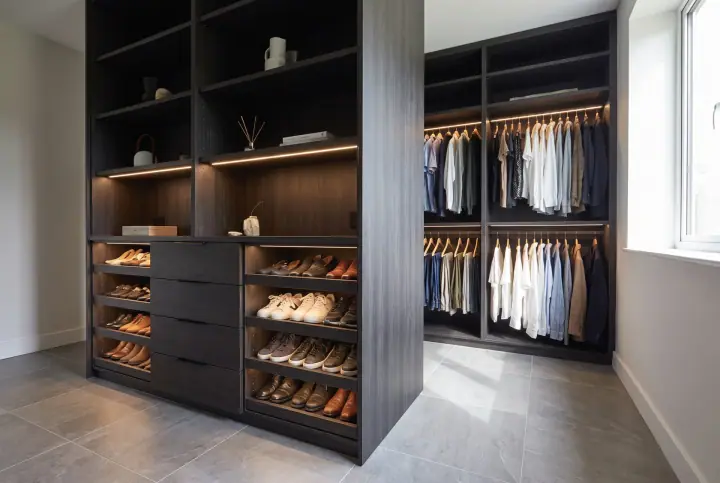
- Angled shoe shelving, 300 to 350mm deep, in one bay. Each shelf holds about three to four pairs per 900mm.
- Flat shelving at close spacing for boots and trainers.
- A pull-out shoe rack behind a door in a hinged robe.
Count the pairs and allow room for more.
Step 6: Add the small things
- Tie rack and belt rack: pull-out, inside a hinged door or at the end of a bay.
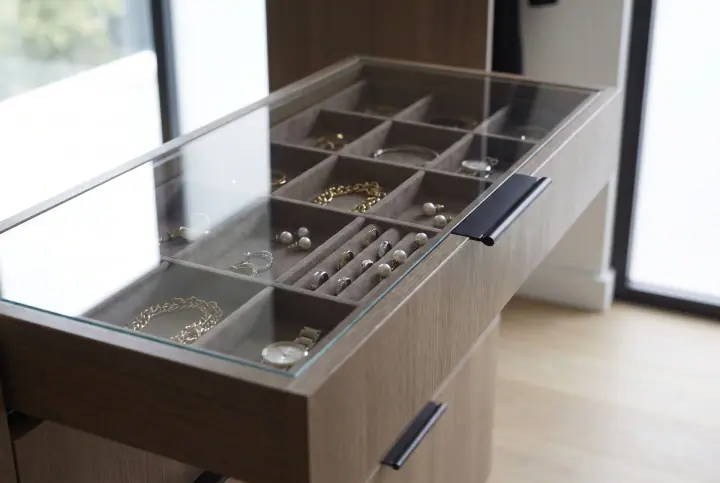
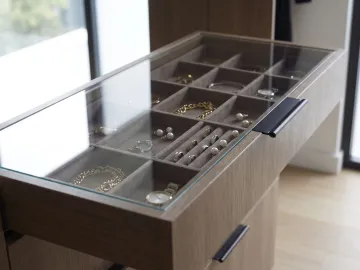
- Jewellery drawer: glass top, felt-lined compartments, usually the top drawer of the bank.
- Pant rack: a pull-out rail that holds trousers flat, without a crease from the hanger.
- Wire baskets: ventilated pull-outs for activewear and anything that needs air.
- Mirror: a swivel mirror that hides inside the wardrobe, or a full-length mirror on a door.
- Lighting: an LED strip under the top shelf changes everything in a dark room.
Our wardrobe accessories page shows each of these in real wardrobes.
Step 7: Draw a bay layout
A wardrobe is divided into bays 900 to 1,200mm wide. Sketch your opening and assign each bay:
| Bay | Width | Top | Middle | Bottom |
|---|---|---|---|---|
| 1 | 900mm | Top shelf | Long hanging | Shoes |
| 2 | 1,000mm | Top shelf | Double hanging | Double hanging |
| 3 | 600mm | Top shelf | Shelving | Drawer bank |
That is a common layout for a 2.5 metre robe. Yours will differ, which is the point.
Step 8: Leave room
Aim to use about two thirds of the space on day one. A wardrobe that is full the day it is installed is already too small.
What happens at the consult
Bring your sketch and your counts. The designer measures the opening, checks the ceiling and the skirting, and turns your list into a layout with rails at the right heights for you, shelves at the right spacing and a drawer bank where it is useful. The internals are made in our Blacktown factory and fitted by the licensed installer who designed them. If your existing doors are sound, we can re-fit only the inside and leave the doors alone.